Hello. It all starts with my pressing need to have a Cornhole. Do you know that feeling when you know you don’t need something, but you need it? Well, that’s how I was, doing deep research all over the web, comparing prices, studying second-hand markets, looking at how to build one myself… Talking to Chinese suppliers, contacting the factory in Europe… I was even looking into garbage containers as I walked by in case someone had decided to get rid of one.
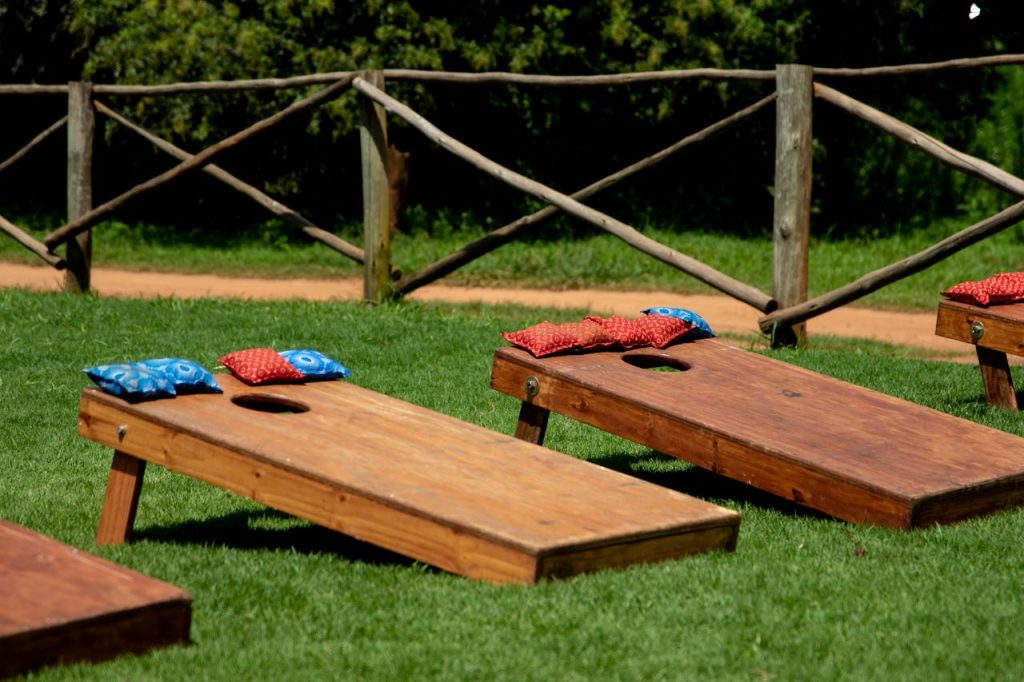
I don’t know if I would call it an obsession. Rather, I think it’s a good reflection of a part of today’s society that seeks to optimize every decision, every purchase to the maximum. The only thing I was looking for was to have the best at the lowest price.
After several intense days of going over all the options, I made the decision to do it myself. I had some wood left over from a previous project, as well as a plank I found in a container (I don’t have a problem), and my wife gave me a “beginner DIY kit” for Christmas, to fulfill all her dreams of having beautiful wooden furniture. So I got to work.
Disclaimer: I’m not an influencer, I have like 3 photos of the project. Sorry for not meeting your dopamine standards.
Step 1: Planning
There was none. I had to go to a hardware store to get light bulbs and I thought on the go about what I would need to build the Cornhole. After spending 15 minutes wandering around, I decided to buy some angle brackets and I’d make do with that.
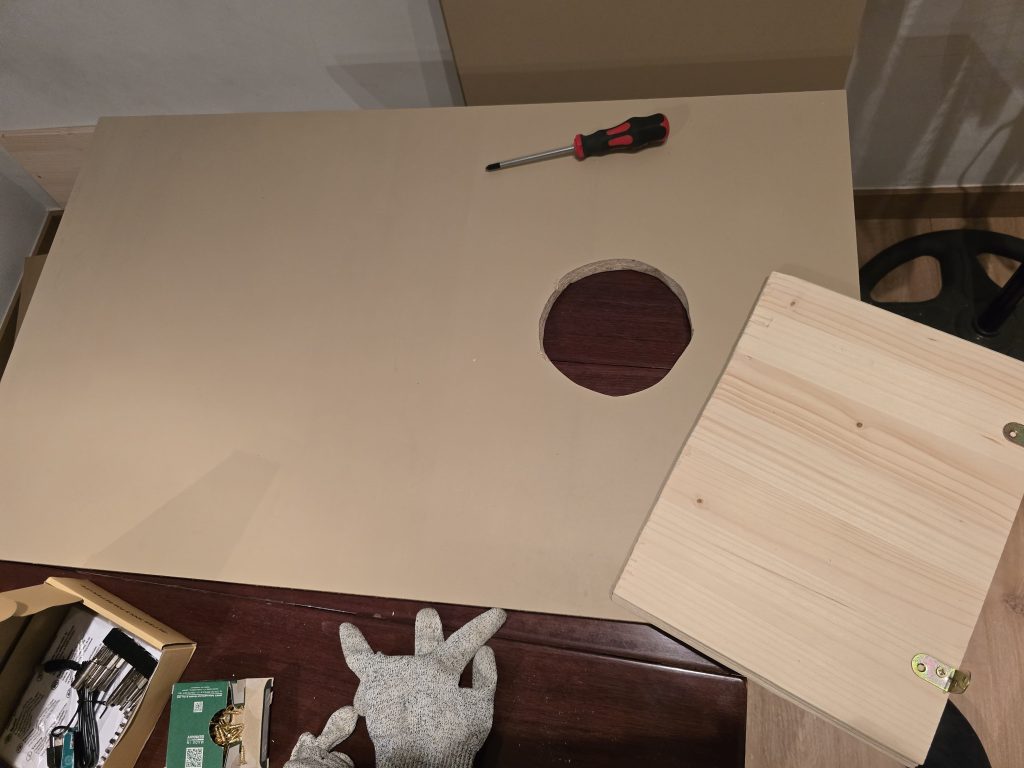
Step 2: The hole
How would you make a perfect hole in the middle of a wooden board? I have no idea, but I’m going to explain how to make a not perfect hole in wooden board.
First I drove a screw into the center where I wanted the circle. With a tool I don’t know the name of, but it worked for me, I drew a circle of the approximate size I wanted.
Next, I used my drill for the first time. I made four holes at the edges of the circle to use as reference. Yes, at the edges; North, South, East and West, you get me.
Finally, the exciting part. I grabbed the jigsaw and cut the circle freehand trying to follow the drawn line. That’s how we get a not perfect circle.
Disclaimer 2: Please be careful. I took all the necessary safety measures to do this project.
Step 3: The support
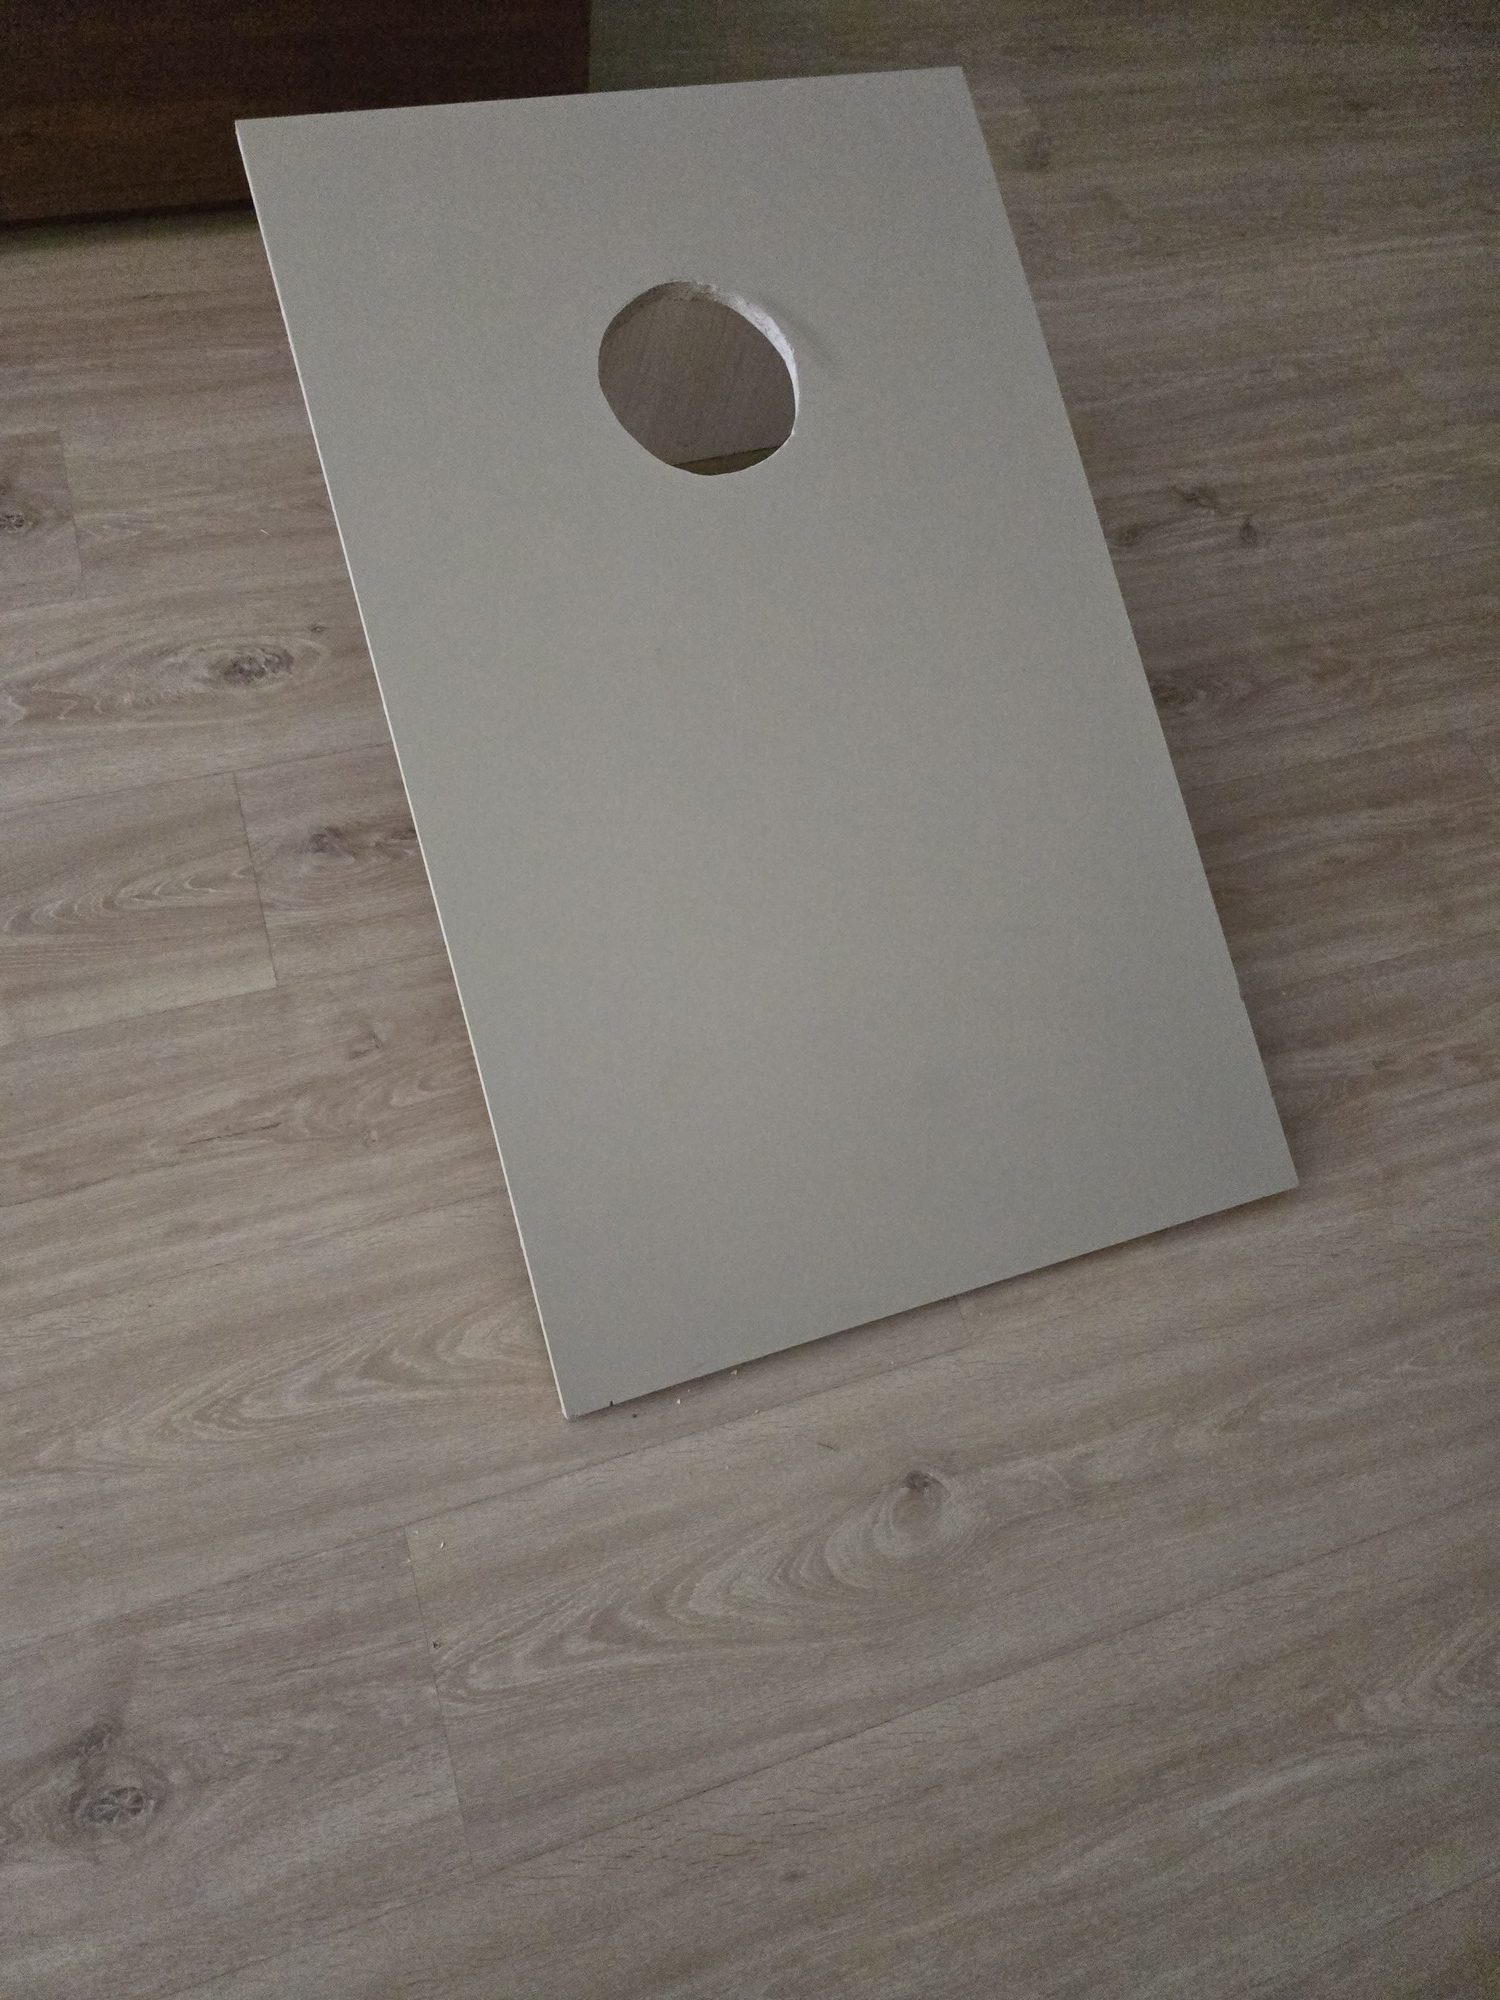
All that was left was to make the piece that would hold the board at an incline. The process of making legs felt complicated and tedious. So I eyeballed the size it should be and cut a piece of wood that would serve as support. I screwed it to the board with the metal brackets and voilà, we have a perfectly ugly and functional Cornhole. We have our MVP.

Final reflection
Now I have a Cornhole. It’s not pretty, I’m not extremely proud, but it does its job, I enjoyed making it and I take away several lessons learned.
Many times in my life the famous phrase “Just do it” has helped me, beyond commercial connotations, I think that sometimes we overthink things too much. Just do it, get moving, make mistakes and learn. Don’t do it to succeed, make money or be able to tell a story, do it for yourself, who is the most important person in your life. Bye.
In case anyone is wondering, my wife knows how to sew and will take care of making the bags for the Cornhole 🙂